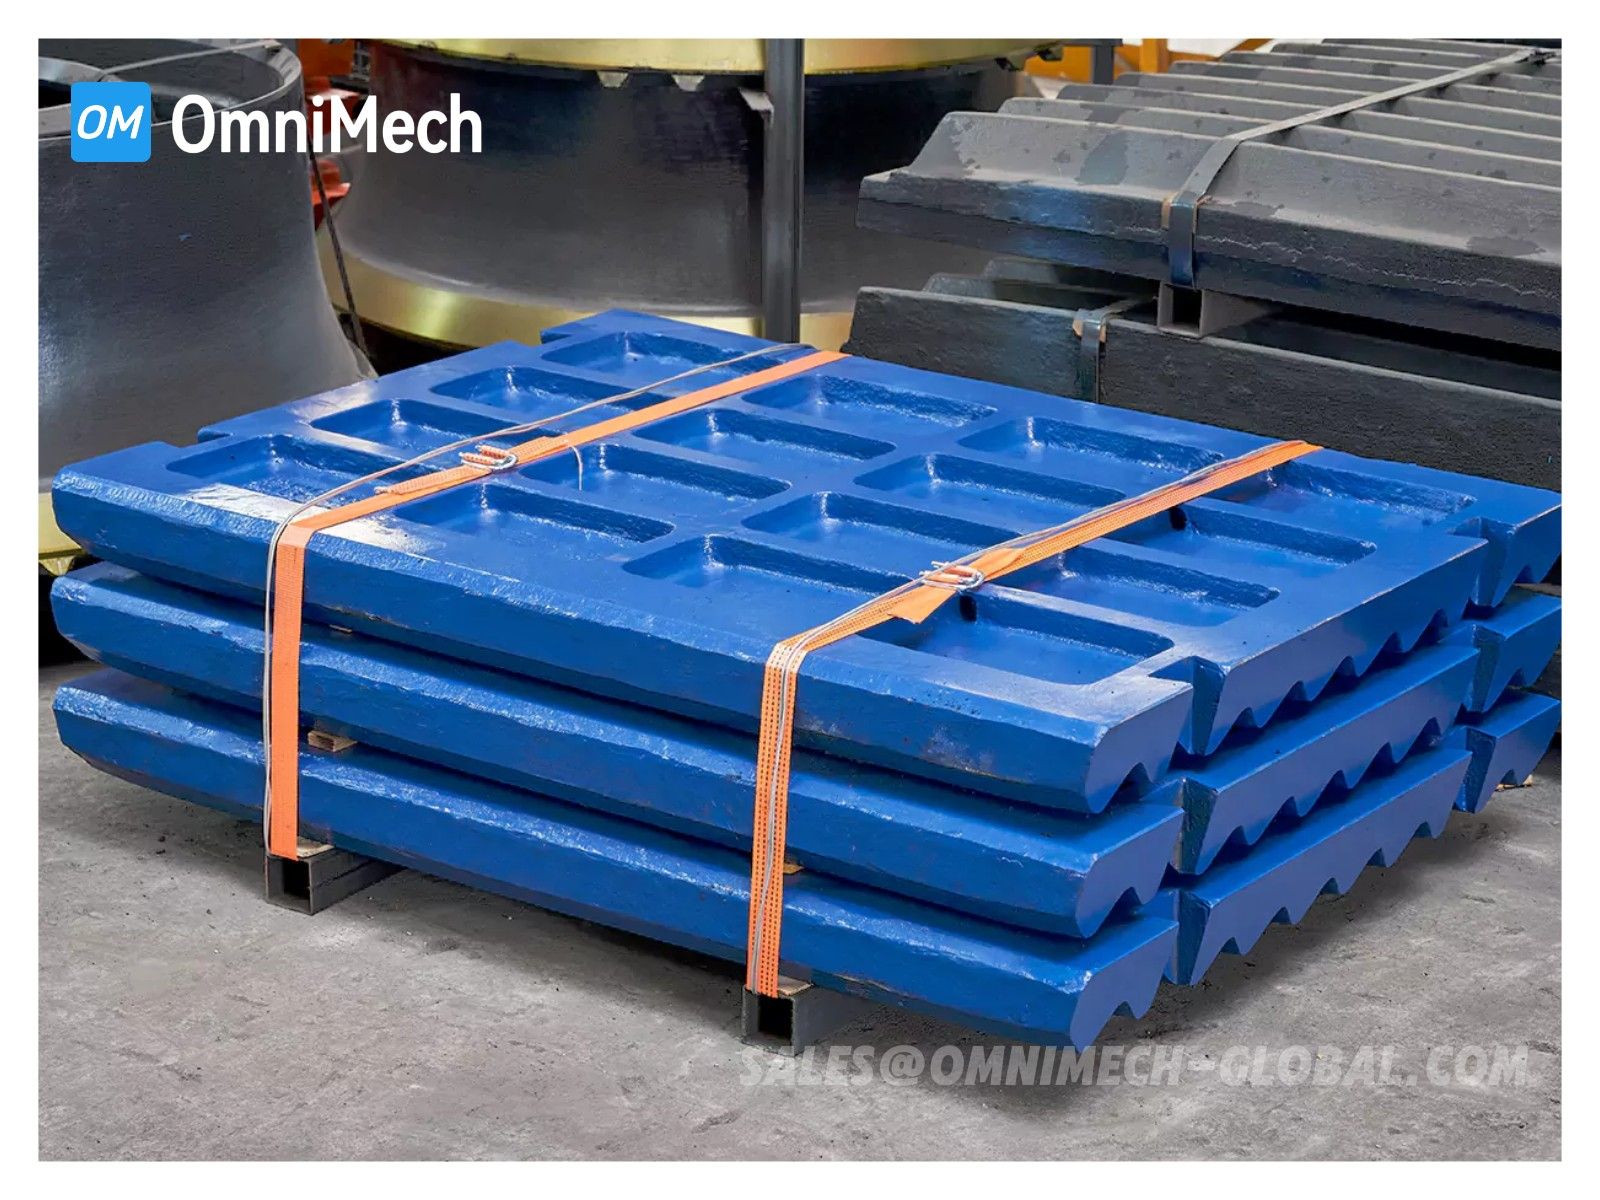
Crusher Wear Parts Failure Diagnosis Guide
Why failure diagnosis matters
When crusher wear parts fail prematurely — cracking after 2 weeks instead of 2 months, or wearing unevenly so throughput drops 30% — the cost isn’t just the replacement parts. It’s the unscheduled downtime, the lost production, and the risk of secondary damage to the crusher frame or bearings.
A single premature liner failure on a primary crusher can cost $50,000–200,000+ in lost production alone. Systematic diagnosis prevents repeat failures.
This guide covers the four major crusher types — jaw, cone, impact, and VSI — with specific failure modes, root causes, and corrective actions for each.

Universal failure modes (all crusher types)
These failure patterns appear across jaw, cone, impact, and VSI crushers regardless of liner material.
1. Premature wear (life <60% of expected)
| Symptom | Likely root cause | Diagnostic check |
|---|---|---|
| Uniform but rapid wear | Wrong material grade for application | Compare feed abrasivity vs. material spec |
| Rapid wear on one side | Off-centre feed distribution | Check feed chute alignment, measure wear at 4+ points |
| Rapid wear after change in ore | Feed material changed (new blast pattern, different zone) | Compare current ore hardness/abrasivity with baseline |
| Rapid wear with good material | Crusher operating outside design range (too tight CSS, too high speed) | Check CSS and speed vs. OEM recommendation |
Corrective action: See our material comparison guide to verify the correct grade for your application.
2. Cracking and fracture
| Crack pattern | Root cause | Fix |
|---|---|---|
| Longitudinal cracks (along length) | Thermal shock, rapid cooling of work-hardened surface | Avoid water spray on hot liners; use dry dust suppression |
| Transverse cracks (across width) | Impact overload, tramp metal, or void behind liner | Install tramp iron protection; reback with epoxy compound |
| Radial cracks from bolt hole | Over-torqued bolt, bolt hole work-hardened from movement | Torque to spec; replace keepers if worn |
| Network of fine surface cracks (crazing) | Thermal cycling (hot-cold-hot) | Stabilise operating temperature; avoid quenching |
| Single catastrophic fracture | Manufacturing defect (gas porosity, inclusion) or massive impact | Section the fracture surface for metallurgical analysis |
3. Spalling (surface flaking)
Spalling indicates subsurface fatigue — the surface layer has work-hardened beyond its ductility limit and is delaminating.
| Condition | Cause | Solution |
|---|---|---|
| Localised spalling at nip point | Excessive impact concentration | Widen CSS slightly; check feed size distribution |
| Widespread spalling | Material too hard for the impact level | Switch to a tougher (more ductile) grade — e.g., Mn18Cr2 instead of Cr26 |
| Spalling on new liners | Improper heat treatment during manufacturing | Return to supplier; request hardness and impact test certificates |
4. Deformation (bending, bowing, dishing)
| Symptom | Cause | Solution |
|---|---|---|
| Liner bowed outward | Void behind liner allowing flex | Reback with epoxy; ensure 100% contact with seat |
| Tooth profile flattened | Feed too fine for the crusher — “choke feeding” with undersize | Remove fines before crusher (scalping screen) |
| Edge rolling/deformation | Liner undersized for the chamber, edge not supported | Verify part dimensions match OEM spec |
Jaw crusher specific failures

| Failure | Root cause | Solution |
|---|---|---|
| Fixed plate wears 2–3× faster than swing | Feed sliding down the fixed plate (gravity effect) | Adjust feed chute to centre material; consider corrugated profile |
| Top of plates wear much faster than bottom | Feed entering too high in the chamber | Lower feed point; install feed distributor |
| Teeth tip rounding (loss of grip) | Feed too small for the tooth profile | Use finer tooth profile or scalp out fines |
| Plate shifting on seat | Backing compound failed, bolt loose | Reback, retorque; check for seat wear |
| Edge chipping | Tramp iron or oversize feed | Install magnetic separator; check max feed size |
For comprehensive jaw plate selection, see our jaw plate selection guide.
Cone crusher specific failures
| Failure | Root cause | Solution |
|---|---|---|
| Mantle wears thick at top, thin at bottom | Feed too high, crushing in upper chamber only | Lower feed level; adjust feed plate |
| Concave ring spinning | Insufficient friction — worn shell seat or wrong backing | Machine shell seat true; reback with high-friction compound |
| Eccentric wear pattern (one side thick, opposite thin) | Feed biased to one side | Install feed distribution plate; check chute alignment |
| Liner lip breakage | Tramp iron or packing (fines filling the chamber) | Improve tramp protection; prevent choke feeding |
| Bronze contamination in oil | Eccentric bushing wear — metal particles entering lube | Schedule bushing replacement; change oil and filters |
Impact crusher specific failures
| Failure | Root cause | Solution |
|---|---|---|
| Blow bar edge chipping | Tramp metal, or Cr26 bar in high-impact application | Install magnetic separator; switch to Mn18Cr2 for high-impact |
| Blow bar cracking through centre | Manufacturing defect or severe impact overload | Section for analysis; verify material certificate |
| One bar wears faster than others | Rotor imbalance, or bars from different batches | Always install bars as a matched set; check rotor balance |
| Apron liner bowing | Insufficient support behind liner, material too thin | Verify backing; use correct thickness liner |
| Rotor disc wear | Running with worn bars — material contacts disc | Replace bars before wear reaches the disc |
For blow bar life extension, see our blow bar guide.
VSI crusher specific failures
| Failure | Root cause | Solution |
|---|---|---|
| Carbide insert popping out | Thermal cycling, braze failure, dry running | Ensure feed before full speed; check insert pocket spec |
| Tip cracking at mounting groove | Over-torqued wedge, rotor imbalance | Torque to spec; balance rotor after tip change |
| Uneven tip wear | Worn distributor cone, off-centre feed | Replace cone; check feed centring |
| Rotor vibration | Mass imbalance from uneven wear | Rotate or replace tips; check bearing condition |
| Excessive fines | Worn tips, too high rotor speed | Replace tips; reduce speed 5–10% |
Diagnostic workflow
When a liner fails prematurely, follow this systematic approach:
1. DOCUMENT the failure
   - Photograph from multiple angles
   - Record operating hours, tonnes processed, material type
   - Note the position in the crusher (which segment, which side)

2. CLASSIFY the failure mode
   - Wear / Cracking / Spalling / Deformation
   - Uniform or localised?
   - Single component or multiple?

3. CHECK operating conditions
   - Feed size, hardness, abrasivity — has it changed?
   - CSS and speed — within spec?
   - Feed distribution — centred and even?
   - Tramp metal protection — functional?

4. CHECK installation quality
   - Backing compound — fully filled, no voids?
   - Bolt torque — to specification?
   - Seating — full contact, no gaps?

5. CHECK material quality
   - Hardness test (Brinell or Rockwell)
   - Compare with specification
   - If cracking: request metallurgical analysis (section, polish, etch)

6. IMPLEMENT corrective action
   - Address root cause, not just the symptom
   - Document the fix for future reference
   - Monitor the next set closely to confirm
Cost of ignoring diagnosis
| Scenario | Cost of reactive approach | Cost of proactive diagnosis | Savings |
|---|---|---|---|
| Premature jaw plate failure (2 weeks early) | $15,000 lost production + $8,000 parts | $500 diagnostic time | $22,500 |
| Cone liner cracking (catastrophic) | $100,000+ downtime + frame repair risk | $2,000 analysis + correct material | $98,000+ |
| Impact blow bar chipping (repeated) | 3× premature changes per year = $45,000 | $5,000 separator + correct grade | $40,000 |
FAQ
How do I test liner hardness in the field?
Use a portable Brinell or Rockwell tester. For manganese steel, expect 200–240 HB as-cast, work-hardening to 450–550 HB in service. For Cr26, expect 58–62 HRC. If readings are significantly off, the material may not meet specification.
When should I send a failed liner for metallurgical analysis?
When: (a) the failure is catastrophic (fracture through the body), (b) the same failure recurs after corrective action, or (c) the failure could indicate a batch problem affecting other installed parts. Cost of analysis: $500–2,000. Cost of ignoring a batch problem: potentially hundreds of thousands.
Can I continue running with a cracked liner?
Small surface cracks (<50 mm, not propagating) in manganese steel can be monitored — manganese is tough enough to arrest cracks. However, any crack in Cr26 or ceramic-insert parts is a fracture risk — replace immediately. Any crack that crosses more than 30% of the part width is a replacement situation regardless of material.
How often should I inspect wear parts?
| Crusher type | Visual inspection | Profile measurement |
|---|---|---|
| Jaw | Daily walk-by | Weekly |
| Cone | Weekly | Monthly or at each CSS adjustment |
| Impact | Daily (blow bars) | Weekly |
| VSI | Every shift (rotor tips) | Every 100 hours |
What records should I keep?
For each liner set: installation date, material grade, supplier, operating hours at replacement, tonnes processed, wear measurements at removal, and photographs. This database becomes your most powerful predictive tool over time.
Can welding repair extend liner life?
Yes, with caveats. Hard-facing overlay (chromium carbide) on manganese parts can add 20–30% life in moderate applications. However: (a) never weld on Cr26 — it will crack, (b) preheat manganese to 250–300°C before welding to avoid heat-affected zone cracking, (c) the weld deposit won’t work-harden like the base metal. See our manganese steel guide for details.
Summary
Systematic failure diagnosis turns every liner replacement from a cost event into a data point. By classifying the failure mode, checking operating conditions and installation quality, and verifying material specification, you can prevent repeat failures and continuously optimise your wear part selection. The diagnostic workflow above takes 30–60 minutes per failure but can save tens of thousands in avoided downtime.
Need help diagnosing a wear problem? Contact our engineering team — send photos, operating data, and we’ll provide a written analysis within 48 hours.